

Setting up CI/CD Pipeline for a React app using Travis CI
Learn how to set up a CI/CD pipeline for your React application using Travis CI and GitHub using this step-by-step tutorial.


Introduction
In this tutorial, we will set up a CI/CD pipeline for a simple React application with the help of Travis-CI. Travis-CI works best with Github, so we will use GitHub in this tutorial.
Pre-requisites
Create a GitHub account.
Create a Travis-CI account and link it to your GitHub account.
You’ll need to have Node >= 14.0.0 and npm >= 5.6 on your machine.
Initialize a React app
Let’s create a simple react app. We will use create-react-app, which provides a nice environment for building a single-page application in React.
npx create-react-app travis-ci-react
We can start our application through npm start command in the terminal.
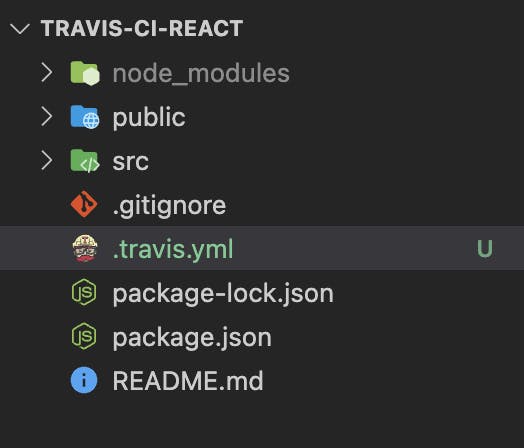
Adding .travis.yml file
Add a .travis.yml file to the react project at the root level.
What does .travis.yml file do?
.travis.yml will help us configure our application’s CI-CD pipeline.
Travis only runs builds on the commits you push after you’ve added a .travis.yml file.
Now let’s set some properties in travis.yml file.
Parameters to provide:
language: Provide the programming language for your project. For our case, it’snode_js.version: Provide the version of the programming language for your application. I have observed that if you don’t provide a version, it automatically picks up v2. This can cause your build to fail since many dependencies require a minimum Node version of 8.cache: npm→ This will cache your NPM dependencies for the next run. Note thatnpm installwill still run on every build and will update/install any new packages added to yourpackage.jsonfile
After this step .travis.yml file becomes:
language: node_js
node_js:
  - 16
cache: npm
Hooks provided by Travis CI
Travis provides us with hooks that are run at specific points in time during the build. These hooks are (in chronological order):
before_installinstallbefore_scriptscriptafter_successafter_failureafter_scriptbefore_deploydeployafter_deploy
This provides a lot of flexibility for custom requirements! Let’s say you want to notify your developer about a failed Travis build. You can utilize the after_failure hook to do so.
script and install hooks
Since we know we want to install NPM dependencies for our React project before we test or build it, we should add npm install as an install script.
Since we also want to test our changes, we should add a npm test as a script.
After testing we can build our react app through npm run build script.
Adding these three changes, our travis.yml file becomes:
language: node_js
node_js:
  - 16
cache: npm
install:
    - npm install
script:
  - npm test
  - npm run build
Using GitHub Pages in deploy hook
Let’s leverage the deploy hook to deploy our react app to GitHub Pages.
But before that, make sure you have set up and enabled Github pages: Follow this guide!
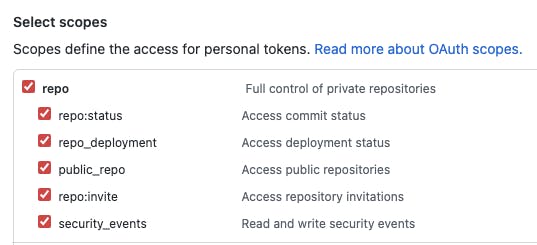
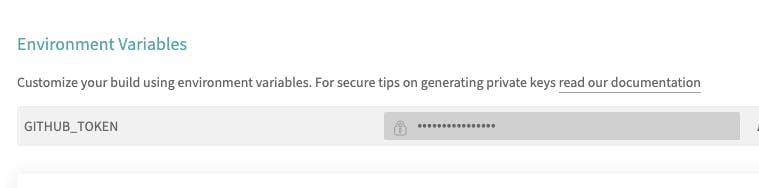
You also need to create a personal access token from GitHub with the repo scope. We will require this token for authorizing Github Pages deployments from Travis. Copy this token and add it as an environment variable in Travis CI named GITHUB_TOKEN.
Now our resulting .travis.yml file is:
language: node_js
node_js:
  - 16
cache: npm
install:
    - npm install
script:
  - npm test
  - npm run build

deploy:
 provider: pages
 skip_cleanup: true
 github_token: $GITHUB_TOKEN
 local_dir: build
 on:
   branch: master
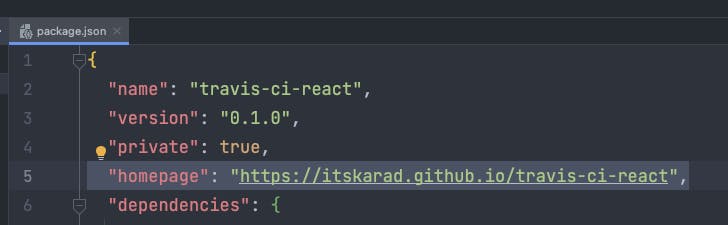
Setting homepage in package.json file
You also need to make a small tweak in package.json file before pushing your code. Make sure you override homepage property in package.json file and set it to the URL where your project is going to be hosted.
If you’re deploying to GitHub Pages, then the URL will be https://<YOUR_GITHUB_USERNAME.github.io/<REPO_NAME>
If you’re curious as to why we do this, check this out.
Committing changes to Github and triggering a Travis CI build
Let’s commit these changes and push them to a GitHub repository.

Travis CI Build Results
If your TravisCI account is linked to your GitHub account, a build automatically gets triggered when you push a .travis.yml file. You can view this in Actions tab.
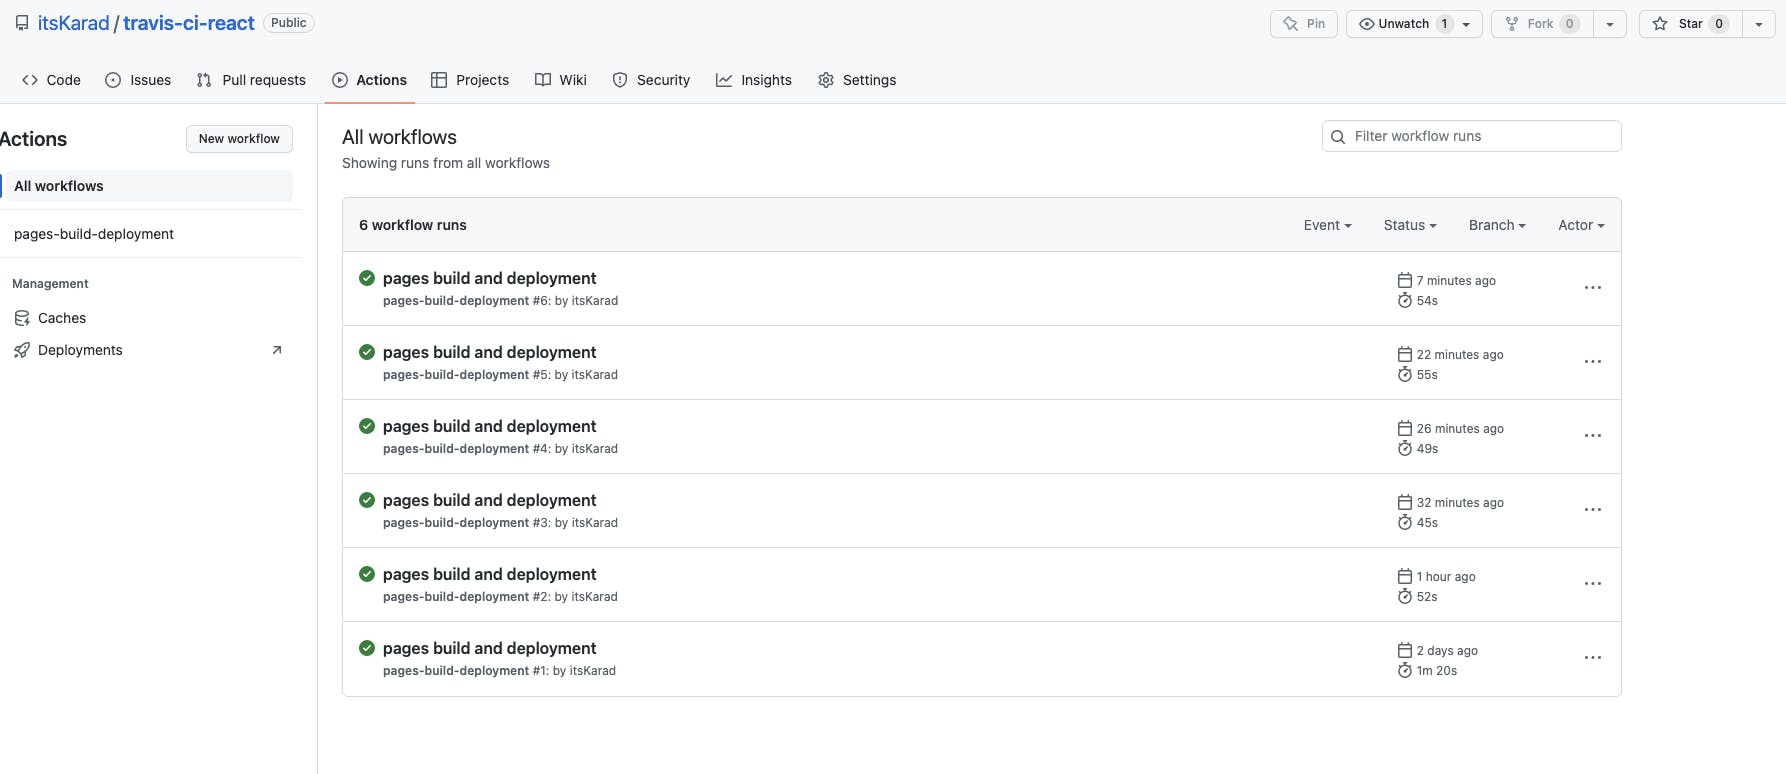
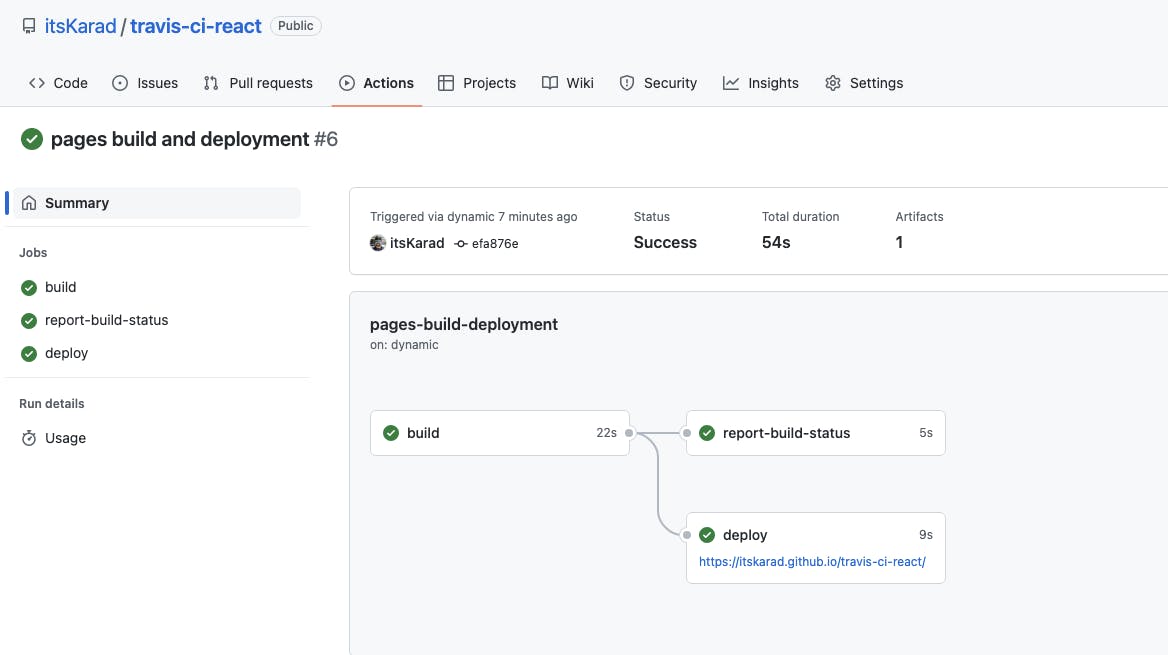
You can also view the results of any single build by clicking it:
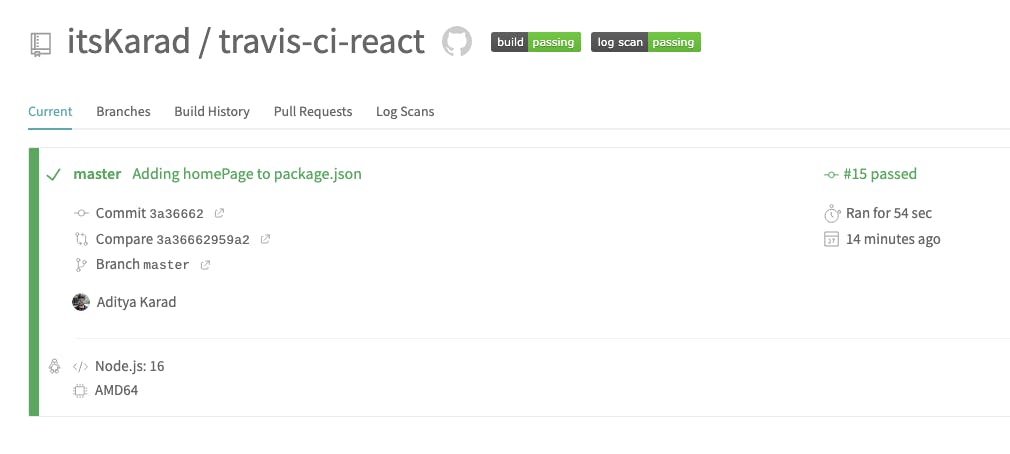
Similarly, you can also head to your TravisCI dashboard and see the build results.
Conclusion
If your build is successful, you can head over to your GitHub Pages URL and see the project deployed!
For example: here is mine: https://itskarad.github.io/travis-ci-react/
Source code of the project
Some more things
Default commands used by Travis CI
Travis already provides some default scripts:
Travis has a default install script for Nodejs projects as
npm installTravis has a default build script for Nodejs projects as:
npm test
Hence we need not add the install: npm install since it’s automatically run by Travis for NodeJS projects.
Similarly, we need not add the script: npm test as well.
language: node_js
node_js:
  - 16
cache: npm
script:
  - npm run build